If you’ve ever messed around with website image optimization or tried to shrink bulky photo files for online use, you’ve definitely run into the limitations of standard PNG files. I’ve been there more times than I can count, honestly.
For years, I stuck with PNG for all my web images because it supports transparent backgrounds and looks crisp and clean. The downside? PNG file sizes get huge, super fast. They bog down page load speeds, take up too much storage, and cause endless upload errors on different platforms.
I kept hearing about AVIF as the newer, better image format for web use, but I had no clue how to make the switch. I tried random conversion methods, messed up file quality multiple times, and even ended up with corrupted images I couldn’t use at all.
That trial and error frustration is exactly why I’m writing this hands-on guide. I’m breaking down exactly how to convert PNG to AVIF with online converter tool using the simple, reliable workflow I now use every single time. No complicated software installs, no confusing desktop programs, just fast, browser-based conversion anyone can master.
Why Switch From PNG to AVIF in the First Place?
Before jumping into the step-by-step process, let’s quickly cover why this conversion is worth your time. A lot of new users skip this part and end up questioning why they’re bothering with a new image format at all.
PNG is a classic, dependable format. It offers lossless quality, transparency support, and wide compatibility across almost every device and platform. But it’s incredibly inefficient for modern web usage. File sizes balloon quickly, especially for high-resolution graphics, logos, and transparent design assets.
AVIF changes that entirely. It’s a modern image format built for web performance. It delivers the same sharp, clean quality as PNG, retains full transparent background support, and compresses file sizes far smaller than traditional PNG compression.
I’ve personally seen image file sizes drop by nearly half after switching from PNG to AVIF, with zero visible quality loss. That kind of compression makes a massive difference for website speed, storage limits, and social media uploads.
The best part? You don’t need any premium editing software or technical skills to make the switch. A basicfree online PNG to AVIF conversion for beginners tool handles all the heavy lifting automatically.
Why Online Converter Tools Beat Desktop Software for This Task
You might be asking, why use an online converter instead of downloading an app or desktop program? I used to prefer desktop tools for image editing, until I realized how unnecessary that is for simple format conversion.
Desktop image software takes up storage space, requires updates, and often has a steep learning curve for basic tasks. Most professional editing programs are overkill if all you want to do is switch a PNG file to AVIF format.
Online converter tools live entirely in your browser. You open them, upload your file, convert, and download. That’s it. No installs, no setup processes, no complicated menus full of settings you don’t need.
I’ve tested dozens of these tools over time, and the best ones offer lossless PNG to AVIF web conversion with zero hidden fees, no mandatory account sign-ups, and no watermarks on your final images.
For casual users, content creators, bloggers, and small business owners, online converters are simply the most convenient way to handle quick image format changes.
Pre-Conversion Prep: Avoid My Biggest PNG to AVIF Mistakes
Before we dive into the official steps, I want to share a few quick prep tips that will save you from the errors I made when I first started converting files. These small checks eliminate almost every failed conversion or low-quality export issue.
First, always double-check your original PNG file. Make sure it’s fully saved, not corrupted, and not open in another editing program. I once tried uploading a PNG that was still open in my photo editor, and the online converter pulled a broken temporary file that resulted in a useless AVIF export.
Second, stick to standard file sizes for free online tools. Most free browser-based converters have soft file size limits. If your PNG is extremely large or high-resolution, you might need to compress it slightly first for a smooth conversion.
Third, avoid batch converting hundreds of files at once on free tools. Batch support varies wildly, and overloading the tool can lead to partial conversions or missing files. For personal and small-scale use, single or small-batch uploads work perfectly.
Following these simple prep steps ensures you get clean, usable results every time you learn how to convert PNG to AVIF with online converter tool.
How to Convert PNG to AVIF With Online Converter Tool (Step-by-Step)
This is my full, everyday workflow. It’s casual, straightforward, and refined from countless failed attempts and messy conversions in the past. Every step is designed for zero technical stress and perfect final image quality.
Step 1: Open a Reliable Online Image Converter
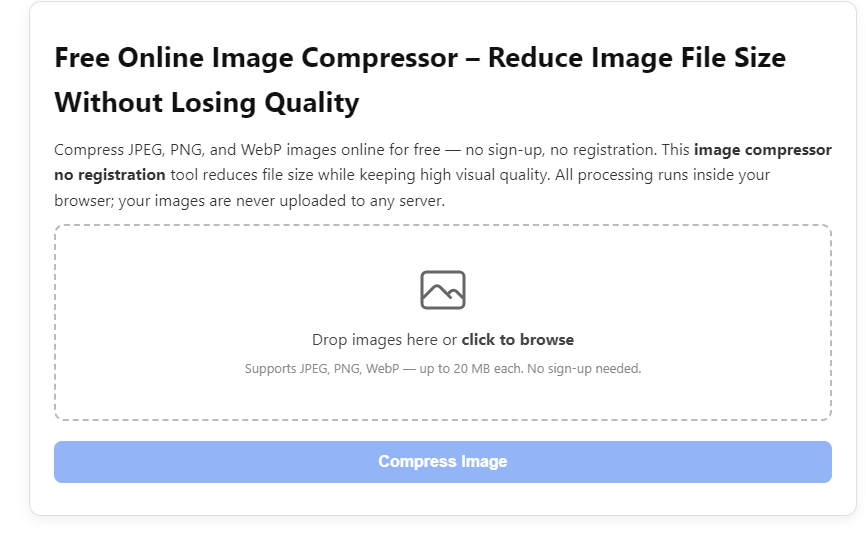
Start by opening a clean, simple simple online image converter for PNG and AVIF in your browser. Stick to basic tools that focus specifically on image format conversion, not multi-purpose file converters that handle documents, videos, and archives.
Multi-purpose tools tend to have weaker image compression algorithms, which leads to blurry or low-quality AVIF files. Dedicated image converters always prioritize visual quality for photo and graphic files.
Step 2: Upload Your Source PNG File
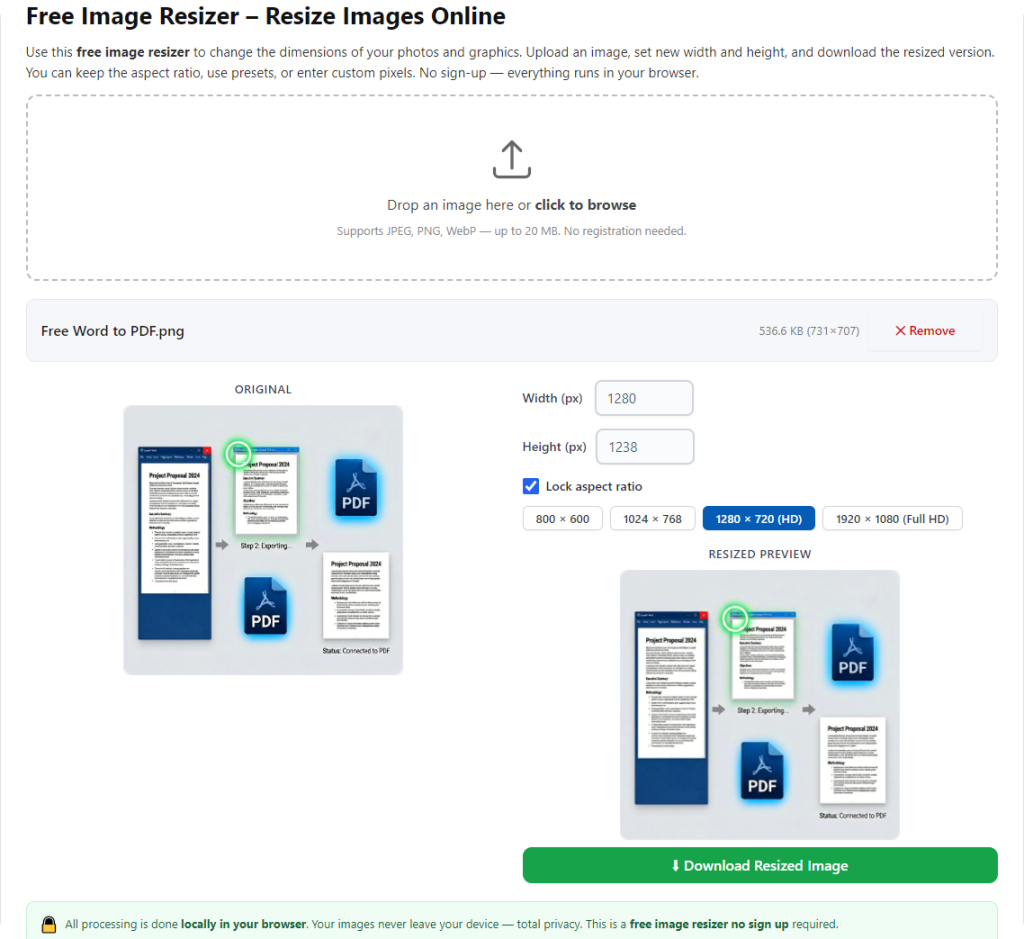
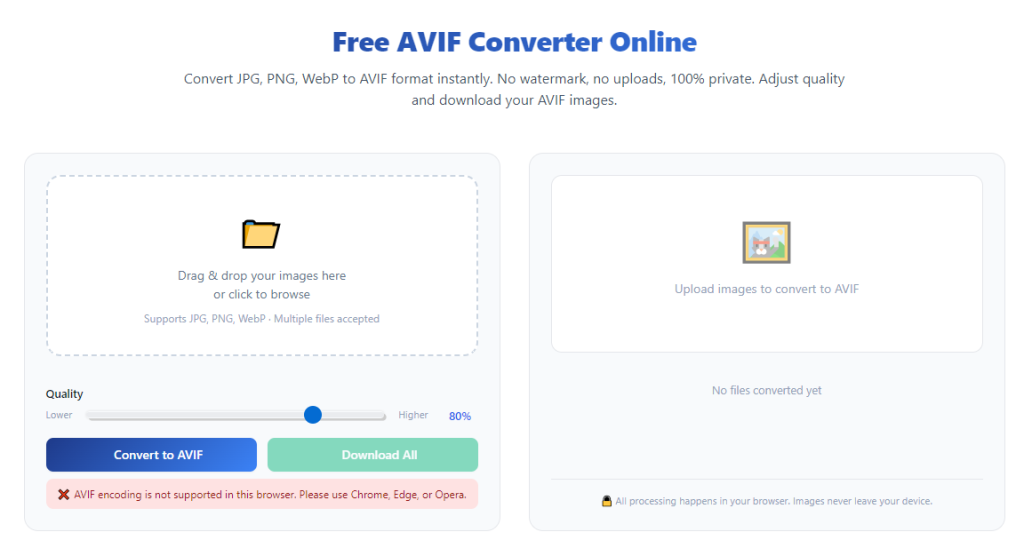
Locate the upload button, usually labeled “Choose File” or “Upload Image,” and select your target PNG file from your device storage. You can drag and drop files on most modern tools, which speeds up the process a lot.
Here’s a tiny mistake I still see people make: uploading JPG files by accident. Double-check your file extension before uploading to avoid converting the wrong image entirely.
Wait a second for the upload bar to finish. Don’t refresh or close the tab mid-upload, or you’ll have to start over.
Step 3: Set Output Format to AVIF
Next, locate the output format dropdown menu. You’ll see dozens of format options like JPG, WEBP, GIF, and TIFF. Manually select AVIF as your final export format.
This step seems obvious, but I’ve rushed through it before and accidentally exported WEBP files instead of AVIF. It’s such a small oversight that wastes extra minutes of rework.
If your tool offers quality adjustment sliders, leave it at 100% for compress PNG files to AVIF online without quality drop. Lowering the slider creates smaller files but softens sharp graphic details.
Step 4: Adjust Optional Compression Settings (If Available)
Many beginner-friendly online converters include optional compression tuning. You can choose lossless mode, balanced compression, or maximum file reduction.
For web graphics, logos, and transparent PNG assets, I always recommend lossless mode. It shrinks the file size while preserving every pixel of your original PNG clarity.
If you’re working with large photo PNGs and need ultra-small file sizes, balanced compression works great without any noticeable visual difference to the human eye.
Step 5: Initiate the Conversion Process
Once your format and quality settings are locked in, click the convert button. The tool will process your PNG file and encode it into standard AVIF formatting.
Processing only takes a few seconds for standard-sized images. Larger high-res files might take a little longer, but it’s still far faster than desktop software rendering.
Step 6: Preview and Download Your Final AVIF File
After processing finishes, most tools let you preview the finished AVIF image. Always take two seconds to preview it. This is how you spot cropping errors, blurriness, or transparency issues right away.
If everything looks clean and matches your original PNG, hit the download button to save the new AVIF file directly to your device. I always save it to a clear folder so I don’t mix up old PNGs and new AVIFs later on.
Common Conversion Errors & How I Fix Them Instantly
Even with simple tools, small issues pop up from time to time. These are the most frequent problems I’ve encountered, plus exactly how I fix them to get perfect AVIF results every time.
First, blurry exported AVIF files. This usually happens when the quality slider is lowered too far or the tool uses aggressive compression. To fix this, re-upload your original PNG and enable lossless mode to restore sharpness. This is the easiest way to fix blurry AVIF exports from online tools.
Second, lost transparency. Some generic converters don’t support AVIF transparency encoding. If your transparent PNG exports with a white background instead, switch to a dedicated image converter that explicitly lists AVIF transparency support.
Third, failed uploads. This happens when your file is too large, your internet connection flickers, or the file is corrupted. Simply re-save your original PNG and retry the upload for a smooth fix.
Fourth, missing download buttons. Occasionally, ad-heavy tools hide download links. Stick to minimal, clean converter tools to avoid this annoying issue entirely.
Real-World Usage: Why I Convert PNG to AVIF Daily
I rely on this exact PNG to AVIF online conversion workflow constantly for my content and design work, and it’s solved so many of my old headaches.
Before I started using AVIF, my website image folders were bloated with oversized PNG files. Page speeds were slower than they needed to be, and I was constantly hitting storage limits on my hosting platform.
After switching all my transparent logos, graphic icons, and web photos to AVIF, my overall media folder size shrank drastically. My site speed scores improved instantly, and I never have to sacrifice image quality for faster load times.
What I love most is how little effort it takes now. Once you get the hang of the online converter workflow, converting images becomes second nature. I can process dozens of PNG files into optimized AVIFs in just a few minutes total.
Is Online PNG to AVIF Conversion Safe & Reliable?
A lot of people worry about uploading personal or design files to online tools, and that concern is totally valid. I used to avoid online converters for fear of data leaks or file tracking.
The good news is that most reputable minimal image converters process files locally in your browser. Your images never upload to external servers, which keeps your files private and secure.
Avoid tools that ask for personal information, email addresses, or account creation just to convert a basic image. Trustworthy free converters let you upload, convert, and download with zero personal data required.
For professional design files or sensitive branded assets, stick to clean, ad-light conversion tools to keep your work safe.
Key Benefits of Mastering This Online Conversion Method
Learning how to convert PNG to AVIF with online converter tool gives you a huge advantage for all your digital projects, big or small.
You get ultra-compressed, high-quality images that boost website performance without pixelation or quality loss. You skip bulky software installs and complicated editing workflows. You save storage space on your devices and hosting platforms.
You also gain full control over your image optimization process. No more settling for slow, oversized PNG files or blurry compressed alternatives. You get perfect, modern AVIF images every single time.
Final Thoughts
At the end of the day, PNG to AVIF conversion doesn’t have to be technical, time-consuming, or stressful. With a basic online converter tool, anyone can create professional, optimized AVIF images from standard PNG files in seconds.
After testing every method under the sun, I can confidently say the browser-based online conversion workflow is the fastest, easiest, and most accessible way to upgrade your image files for modern web use.
Once you follow this simple step-by-step process, you’ll never go back to bulky PNG files or complicated desktop conversion software again. Every image you convert will be lighter, cleaner, and better optimized for all your online projects.
After learning the operation method, click the link below to enter the tool page for immediate use.